DevOps Beginner Friendly

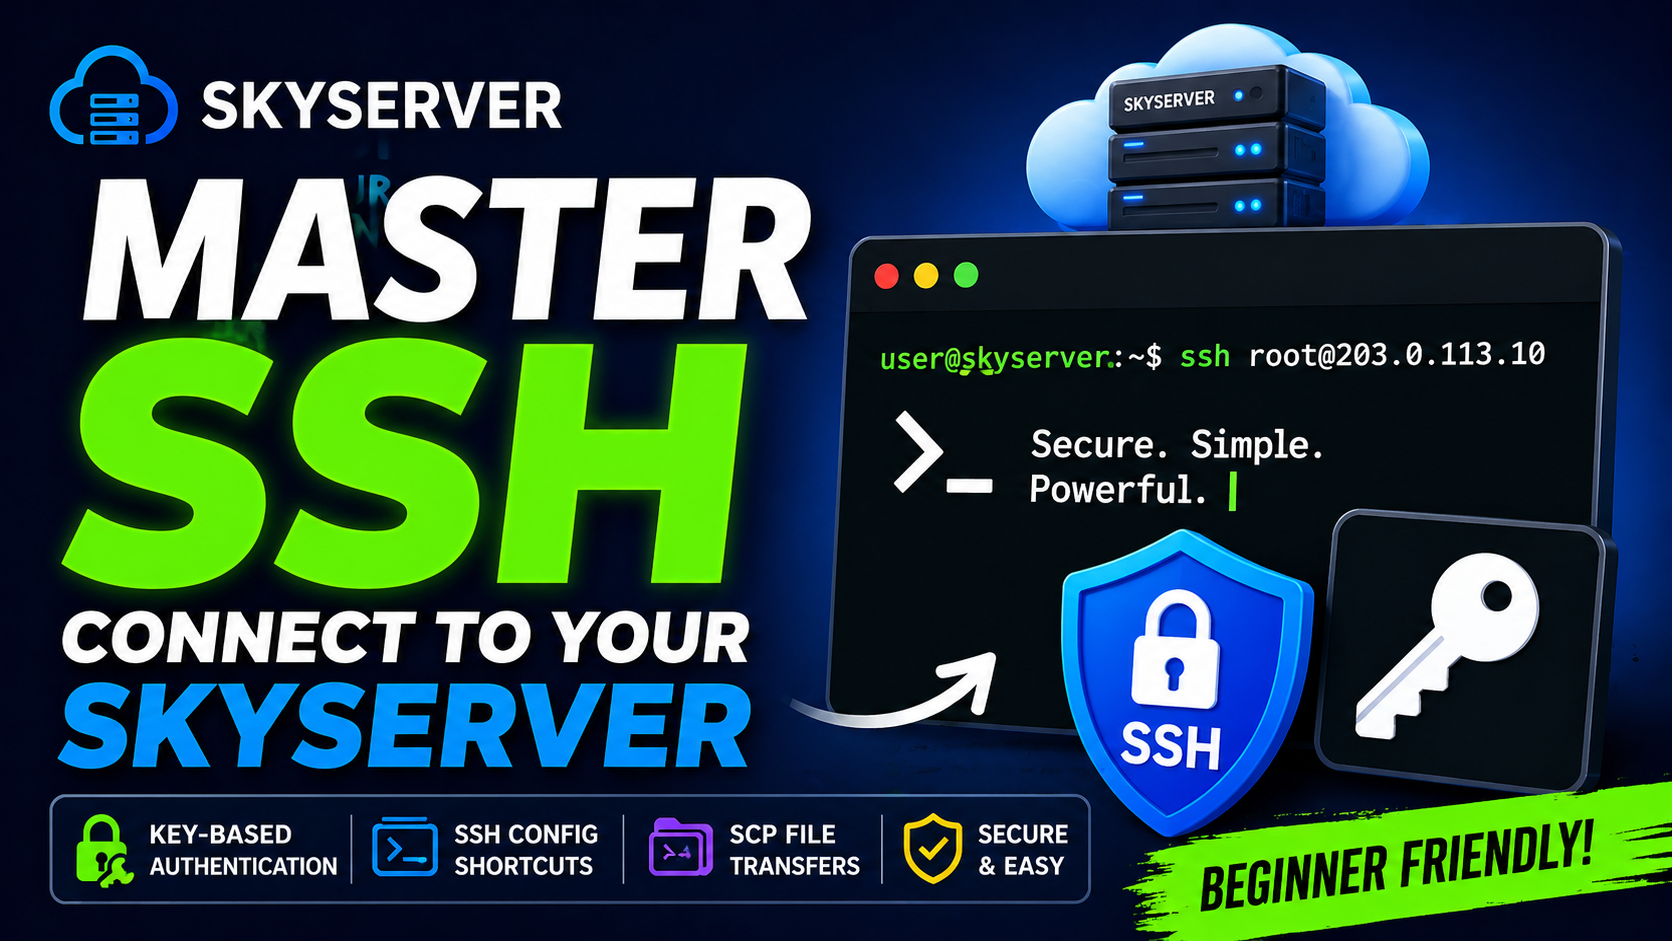
How to Connect via SSH
to Any Remote Server

From your first ssh user@ip to key-based login, config shortcuts, and file transfers — everything in one place.

8 min read
Linux / Mac / Windows
April 2025
Terminal showing SSH commands
01
Introduction

What is SSH?

SSH (Secure Shell) is a cryptographic network protocol that lets you control any remote machine securely — as if you were sitting right in front of it. It runs on port 22 by default and encrypts all traffic end-to-end.

Whether you are a web developer deploying code, a sysadmin managing servers, or someone controlling a Raspberry Pi from home — SSH is the tool you need.

Encrypted Transport

All data encrypted with AES or ChaCha20 — no one can sniff your traffic.

Key-based Auth

No passwords — a public/private key pair keeps you secure and hands-free.

Port Forwarding

Tunnel remote ports to your local machine for access to internal services.

File Transfer

Use SCP or SFTP to securely move files between machines over SSH.


02
Basic Connection

Connecting to a Server

Server rack in a data center
The server you are about to connect to — sitting somewhere in a data center

The most basic SSH command follows this pattern:

bash — basic ssh connect
# Syntax
ssh username@hostname_or_ip

# Connect using an IP address
ssh root@192.168.1.10

# Connect on a custom port (if not port 22)
ssh -p 2222 ubuntu@203.0.113.50

# Connect using a domain name
ssh deploy@myserver.example.com
First Connection

The terminal will ask: "Are you sure you want to continue connecting (yes/no)?" — type yes. This saves the server fingerprint so future connections are verified automatically.


03
SSH Key Authentication

Password-free Login with SSH Keys

Digital security key concept
Your private key stays on your machine — the public key goes on the server

Typing a password every time is tedious and less secure. SSH keys let you log in instantly, hands-free, with stronger cryptographic protection.

Step 1 — Generate a key pair

bash — generate key pair
# Ed25519 — recommended (fast and modern)
ssh-keygen -t ed25519 -C "my-server-key"

# RSA 4096 — for older systems
ssh-keygen -t rsa -b 4096 -C "rsa-key-2025"

# Keys saved at:
# ~/.ssh/id_ed25519       private key — never share this
# ~/.ssh/id_ed25519.pub   public key  — copy to servers

Step 2 — Copy public key to the server

bash — install public key
# Easiest way
ssh-copy-id ubuntu@192.168.1.10

# Manual method (if ssh-copy-id is unavailable)
cat ~/.ssh/id_ed25519.pub | ssh ubuntu@192.168.1.10 \
  "mkdir -p ~/.ssh && cat >> ~/.ssh/authorized_keys"

# Now login — no password required
ssh ubuntu@192.168.1.10
Never Share Your Private Key

id_ed25519 (without .pub) must stay on your machine only. The .pub file is what you copy to servers.


04
SSH Config File

Set Up Shortcuts with ~/.ssh/config

Instead of typing long commands every time, define named aliases in your SSH config file.

~/.ssh/config
# Production server
Host prod
    HostName       203.0.113.50
    User           ubuntu
    Port           22
    IdentityFile   ~/.ssh/id_ed25519

# Staging server
Host staging
    HostName       staging.myapp.com
    User           deploy
    Port           2222
    IdentityFile   ~/.ssh/staging_key

# Keep alive for all hosts
Host *
    ServerAliveInterval  60
    ServerAliveCountMax  3
After this, just type:

ssh prod or ssh staging — the config handles everything else automatically.


05
Useful Flags

Common SSH Flags

Flag What it does
-p 2222Connect on a specific port
-i ~/.ssh/mykeyUse a specific identity file
-L 8080:localhost:80Local port forwarding (tunnel)
-R 9090:localhost:3000Reverse tunnel from remote to local
-NNo remote shell — tunnel only
-v / -vvvVerbose output for debugging
-XX11 forwarding — run GUI apps remotely
-AForward your SSH agent to the remote host

06
File Transfer

Transfer Files with SCP

Network cables representing data transfer
SCP runs on top of SSH — same encryption, same keys, same config shortcuts
bash — scp examples
# Upload a file to the server
scp ./index.html ubuntu@192.168.1.10:/var/www/html/

# Download a file from the server
scp ubuntu@192.168.1.10:/var/log/nginx/error.log ./

# Upload an entire directory (-r for recursive)
scp -r ./my-project/ ubuntu@192.168.1.10:/home/ubuntu/

# Use your config shortcut
scp ./deploy.sh prod:/home/ubuntu/

07
Quick Start

Starting from Scratch? Follow These Steps

1

Install an SSH client

Mac and Linux have it built in. On Windows, enable OpenSSH from Settings or install Git Bash.

2

Get your server credentials

From AWS, DigitalOcean, or your VPS provider — grab the IP address, username, and any key file they provide.

3

Connect for the first time

Run ssh username@ip, accept the fingerprint prompt, and you are in.

4

Set up SSH keys

Run ssh-keygen to create a key pair, then use ssh-copy-id to push the public key to your server.

5

Add a shortcut to ~/.ssh/config

From now on, ssh prod is all you need to type.

What to Learn Next

Once comfortable with the basics, explore SSH tunneling, jump hosts (bastion servers), agent forwarding, and tmux for persistent remote sessions.

SSH Connection Guide  ·  Written for developers at all levels  ·  ssh -v happy-coding@life